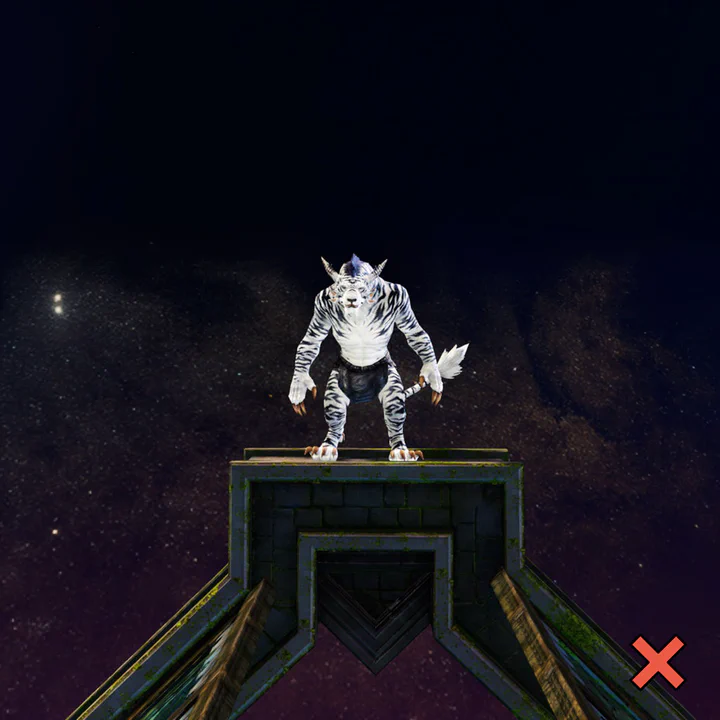
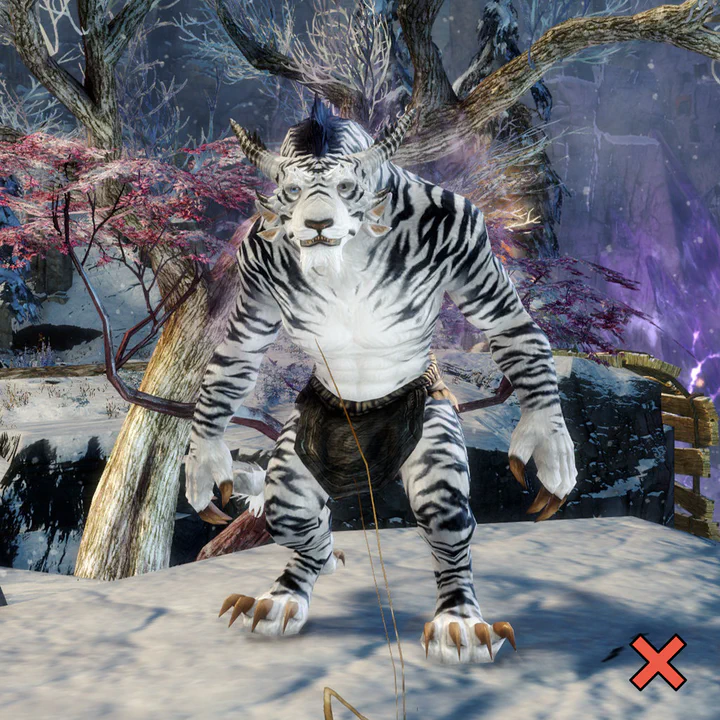
Taking reference screenshots in Guild Wars 2
April 4, 2023
Here’s a quick guide for taking reference screenshots of your character in Guild Wars 2.
First, please find an area with bright, neutral daylight. If you have access to the Mistlock Sanctuary, it’s a great place for reference screenshots! Otherwise, use Lion’s Arch or Divinity’s Reach.
For 3D work, I usually need at least these perspectives of the character without armor:
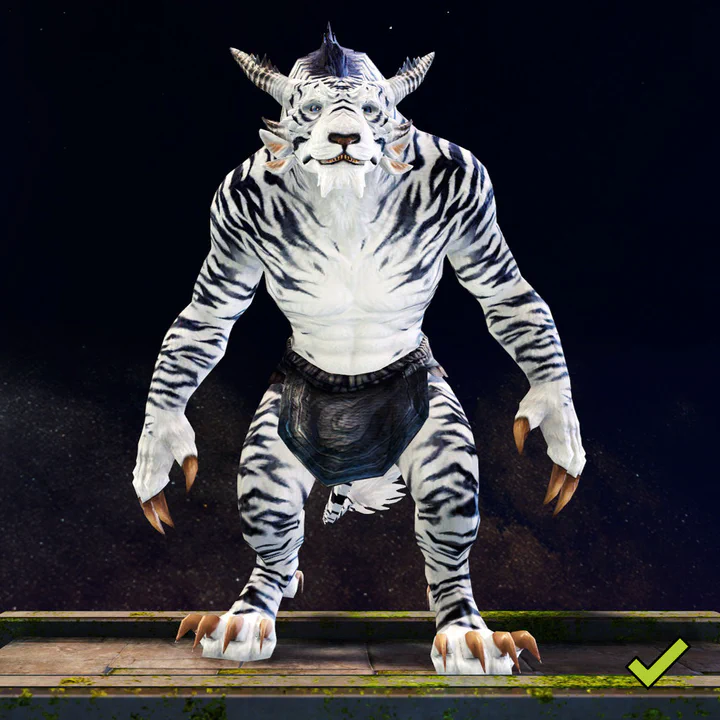
- Straight front view
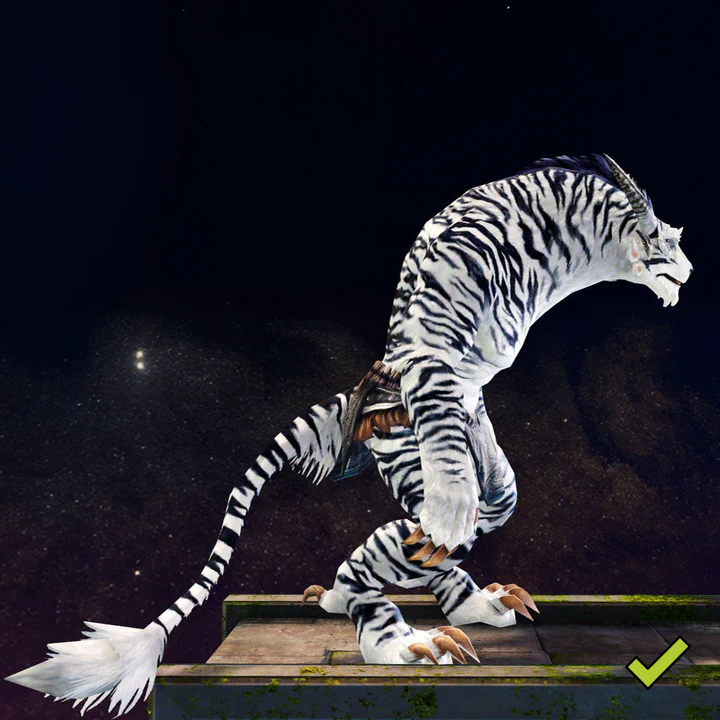
- Straight side view
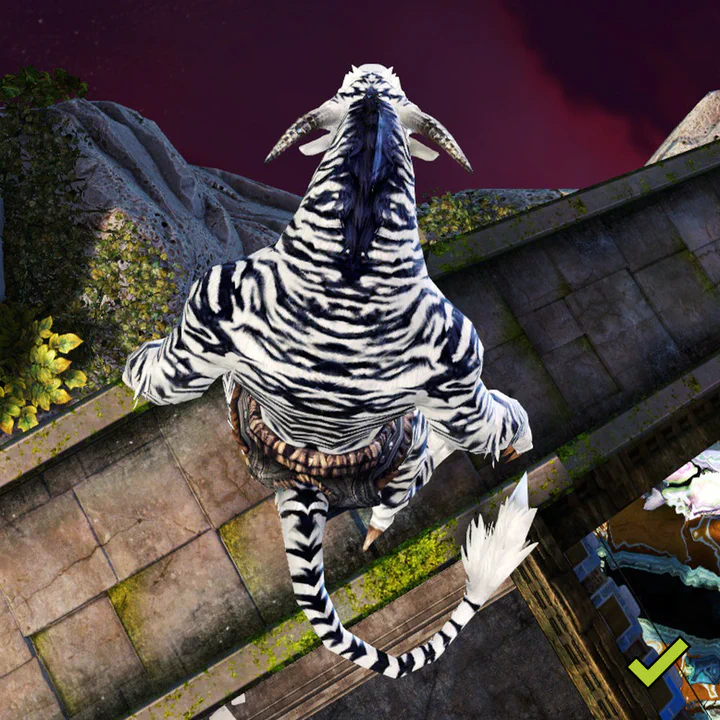
- Straight top view (mostly for the horns)
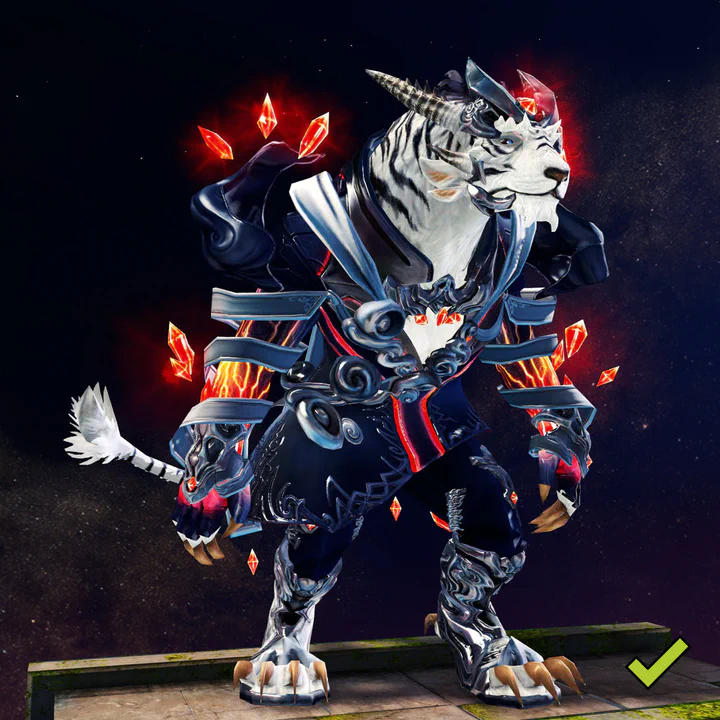
- Full-body view, halfway between front and side
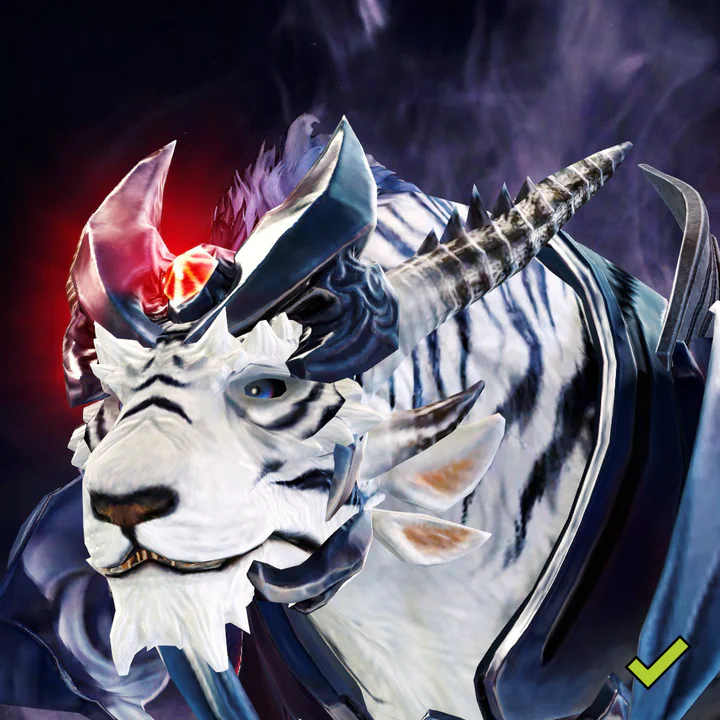
- Close-up of the head, halfway between front and side
For armor and equipment, please tell me the names of the items, and give me at least one screenshot that lets me see the dyes of the individual pieces.
A few more tips:
- Zoom in as much as possible without cropping parts of the character.
- Take the pictures against a simple, uncluttered background like the sky or a wall.
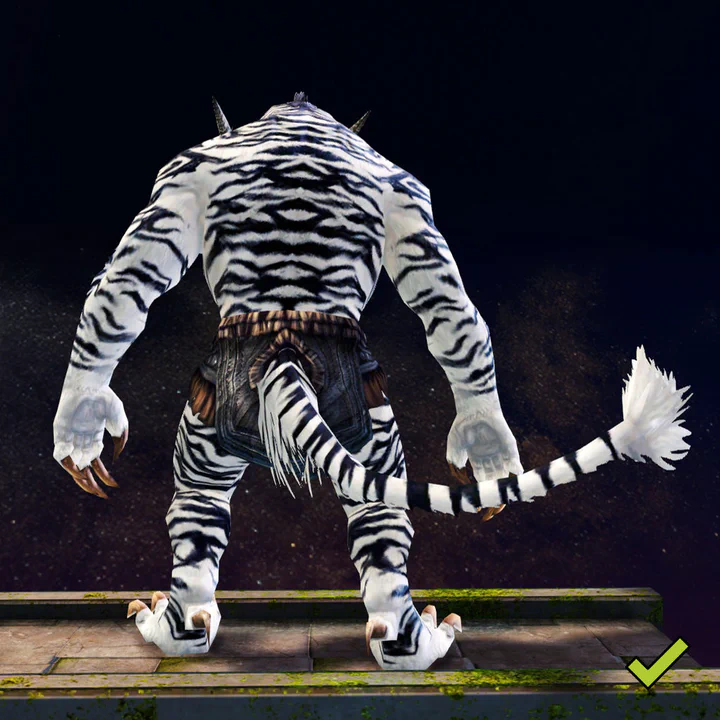
- Try to take the back view screenshot so that the color of the hand paw pads is visible.
Please have a look at the pictures below for some examples of what to do (and not to do).
Good Examples
Bad Examples — don’t do this
